DIY Stamps and Monograms
I get cheap around the holidays. My hunny and I usually have a $25-30 gift limit, so I’ll spend a lot of my free-time making things. Though I’ve been making my own stamps for a while (last year I gave my roommates personalized monogram stamps and stationary), I’ve never posted a tutorial on stamp carving.
The Method
Materials:
a cutting mat
rubber printing block (I use Speedball printing blocks — available at Flax or your local arts & crafts store)
scrap paper and a pencil
an exacto knife and a lino-cutter
ink pad
If making a stamp with words or letters, write them in pencil on a separate piece of paper. Im using tracing paper here, but plain paper will work as well. Place your stamp on top of the printing block. Hold the paper in place while rubbing a pencil eraser over the words to transfer them to the block. You are making a reverse image of the words, otherwise your stamp will come out backwards.
Here is how the block will look after your have transferred your image. Now, follow your writing with the lino cutter to cut out the words. You don’t have to make the scores very deep for the stamp to work.
When the words are all cut out, use the exacto knife to cut the edges of your stamp to whatever size you want it.
Stamp!
With this stamp, as with the monogram stamps I have made, you are using the lino cutter to remove the design you ultimately want to see. In other words, the background will be colored and the design will be blank. Alternately, you can make stamps by using the exacto knife to carve away the negative space, leaving only the design. This is easiest to do with simple pictures or big block letters.
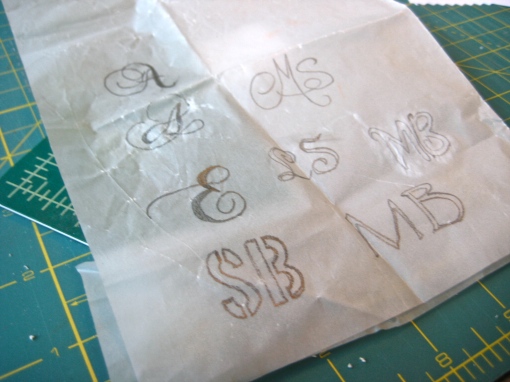
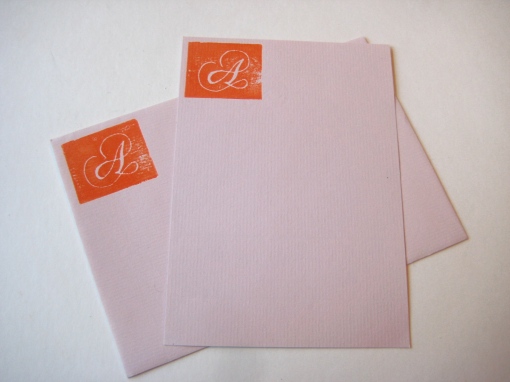
Here are examples of the monogram designs I used last year, followed by my roommate Alona’s stationary.
Happy holiday crafting!


This is amazing! You are so talented, Megan! Happy Holidays!
Thank you Lara! Happy Holidays!!